Vibrant Colors in Landscape Photography in Harsh Light
One of the most frequent questions we hear about our photographs is, “How do you manage to capture such vibrant colors landscape photography?” The commonly-held belief is that the landscape photo must be manipulated in post-processing to get such brilliant colors. While some post-processing is necessary, the art of capturing vibrant colors typically begins in the field with an understanding of how light in landscape photography affects colors.
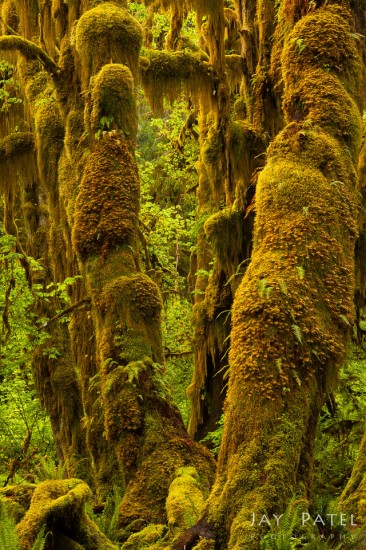
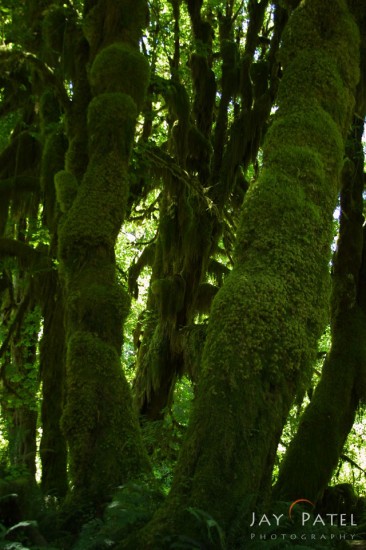
Take a look at the two photographs above. Both photographs were taken at the same location in Olympic National Park. Considering they were taken in the same location, why are the colors in the first photograph more vibrant and natural than in the second? The first photograph (image #1) was taken on a spring, overcast day. The soft, scattered light helped to bring out the brilliant colors of the newly-formed leaves. The second photograph was taken during a summer afternoon in the harsh lighting conditions produced by clear, midday blue skies. The resulting photograph is dull and shows many underexposed and overexposed areas. Bright light in the background and dark shadows throw off the exposure for the entire image; the scene simply looks wrong.
Harsh midday light is something that all landscape photographer try to avoid. We’ve even heard that the best thing to do during midday is to catch up on all the social media activities because there is nothing to shoot. Really? There’s nothing to shoot? Does that mean that, in order to capture brilliant colors, you must always shoot in overcast conditions? Not at all. If you want to capture photos with brilliant colors, recognize that the quality, direction, and amount of light affects the colors that you can capture.
What is wrong with harsh light?
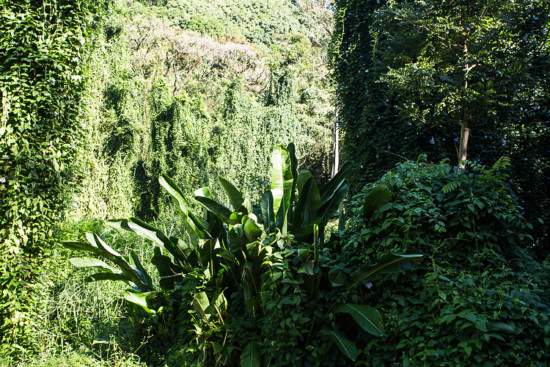
Harsh light often creates conditions with an extreme dynamic range. So, if you use an average exposure to capture a landscape photo, the shadowed areas will be underexposed and the highlights will be overexposed. The colors in both areas will be dull and unappealing, as you can see from the image below.
There are several ways to overcome this problem that landscape photographers face:
- Use high-speed bracketing to capture the image taken with harsh light and then blend them together in post processing.
- Use creativity and your knowledge of how light interacts with your subject to produce landscape photos with rich vibrant colors.
- Avoid capturing photos with both harsh sunlight and deep shadows. For most situations, shooting during overcast conditions is the best way to do this.
- Harsh sunlight is sometimes necessary to bring out the brilliant colors in your images (such as when you are trying to capture the colors of water on a tropical beach).
- If your subject is small, you can control the light by using a diffuser and/or a reflector.
- Harsh reflected light can add brilliant colors to in your landscape photos.
- Use a circular polarizer to cut though diffused light (glare) and to bring out brilliant colors and details in your subject.
Here are some examples of vibrant colors in landscape photography captured under harsh light using these tips:
Colors in Tropical Water
Harsh sunlight is sometimes necessary to bring out the brilliant colors in your images. Harsh sunlight can penetrate deep into the water and help bring out the rich turquoise colors in the water. The same tropical waters when photographed at blue hour will take on completely different colors. Here are two examples that demonstrate the effects of harsh light on the colors in your image.
Notice that neither image lacks colors, but the colors produced by direct sunlight has a completely different look and feel from the landscape photo produced during the blue hour.
Reflected Harsh Light
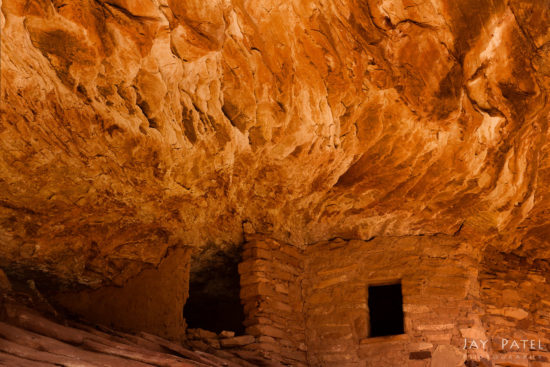
You can capture landscape photos with rich colors using the reflected harsh light on your subject.
The image above from Mule canyon was captured on a cloudless day. The harsh light reflected from the surrounding vegetation and surrounding rocks caused the canyon walls to glow with rich colors. Reflected harsh light from the green vegetation on the opposite shore was also used to bring out the colors in the flowing waters in the image above from Rickett’s Glen.
Evenly-lit Scene
In this photo, I used telephoto lens to narrow my photography composition. This allowed me capture brilliant colors on an evenly lit bark of this rainbow eucalyptus on Maui, Hawaii.
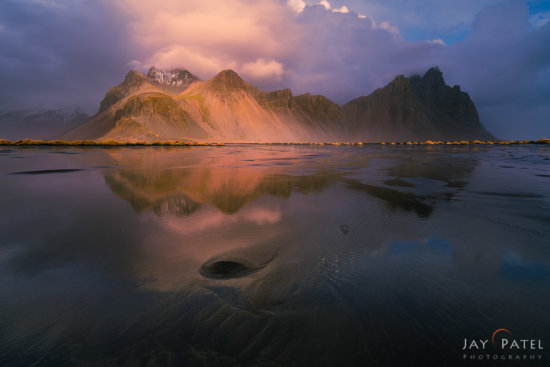
Harsh sunlight can produce stunning colors when the scene you are trying to photograph is evenly-lit. Here is are two examples from Iceland that show you how it is possible to produce photos with vibrant colors when your subject is lit by harsh light.
In image #3 above, I used a circular polarizer to darken the sky and reduce the glare on the wet foreground. When we are photographing at midday, we often look for an even light scene that can benefit from the direct sunlight.
Spot Light Effect in Landscape Photography
This effect occurs when intense sun beams shoot through the opening in the sky to illuminate a small piece of landscape, as shown in the image below from Iceland.
I used the same technique to capture the above photo of Yellowstone Falls in Yellowstone National Park. To capture this image, I waited until the spotlight effect illuminated the falls before taking the photo. Later, I used post-processing to bring out the details in all parts of the image. While this particular photo did not require bracketing, there are times when the spotlight effect requires bracketing to get the correct exposure.
Sun Beams in Forest
Sun beams are nothing more then scattered sunlight due to particles in the air such as sand or humidity. This effect can be found in rain forests or when a thunderstorm is breaking up.
Because the camera is facing directly into the sun, I needed to bracket my landscape photos to capture the entire dynamic range. These bracketed photos were combined in post processing to see the vibrant colors in finished landscape photo.
If you want to capture photos with brilliant colors, recognize that the quality, direction, and amount of light affects the colors that you can capture. The next time you’re out in the field and want to correctly capture brilliant colors in-camera, pay attention to the light. You’ll be rewarded with some breathtaking photos.


